AnywhereNow Authentication for Dialogue Studio
AnywhereNow Authentication for Dialogue Studio allows for specific users of your organization to have read-only or read and write access to your Dialogue Studio portal. This is achieved by creating two authenticated groups in your Microsoft Entra ID Formerly known as Azure Active Directory (or Azure AD, or AAD), one group for Readers and one group for Writers.
Note
Before setting up AnywhereNow Authentication for Dialogue Studio, make sure you have created a new Azure App, see: Create new Azure App Registration for AnywhereNow Authentication
Configuration and Mapping of Azure groups
AnywhereNow Authentication needs Azure users assigned to Azure groups. Users not part of an authenticated group will have no access to Dialogue Studio. There are two types of access:
- Reader: Users that sign in and read-only rights.
- Writer: Users that have full-access rights and are able to make changes.
Creating Azure groups
-
In Azure click on Microsoft Entra ID Formerly known as Azure Active Directory (or Azure AD, or AAD)
-
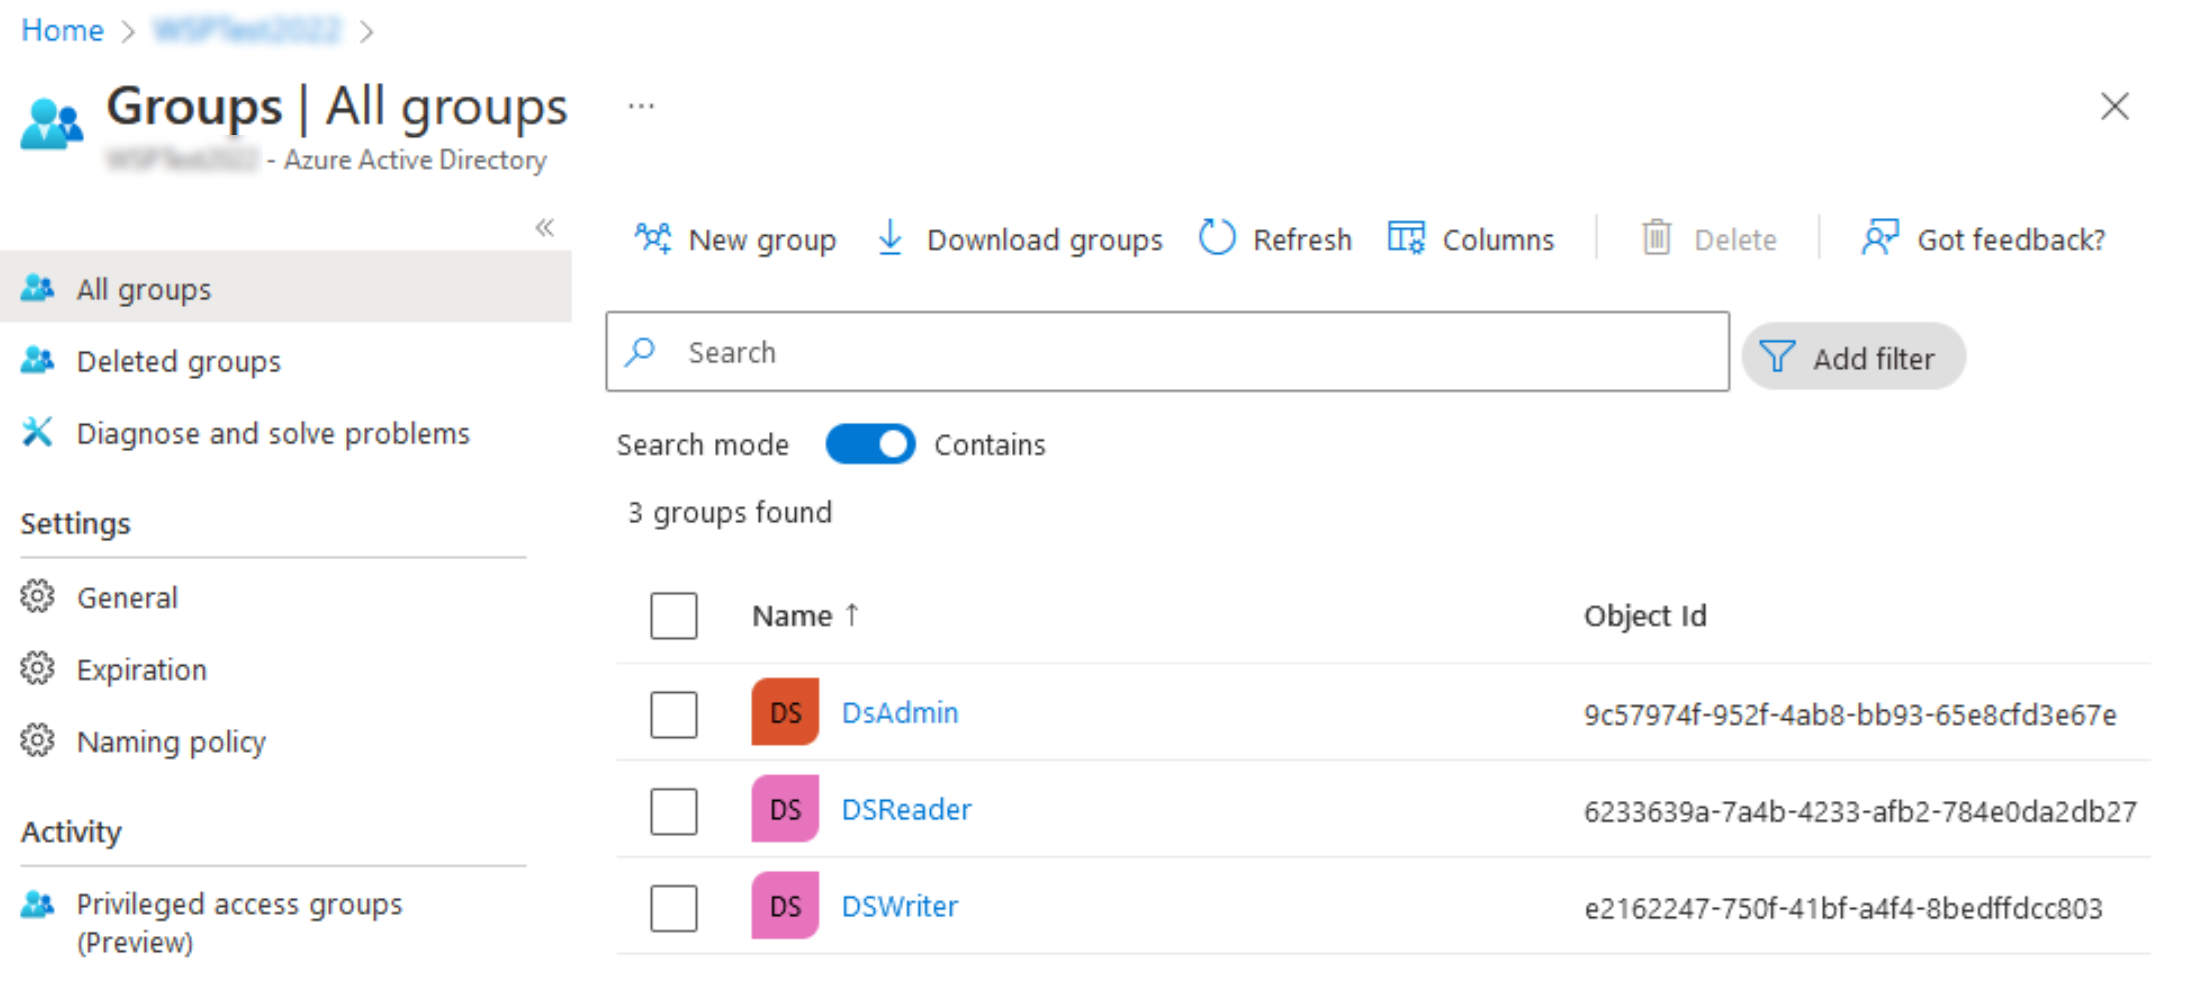
In the left menu click on groups.
-
Click on new group
-
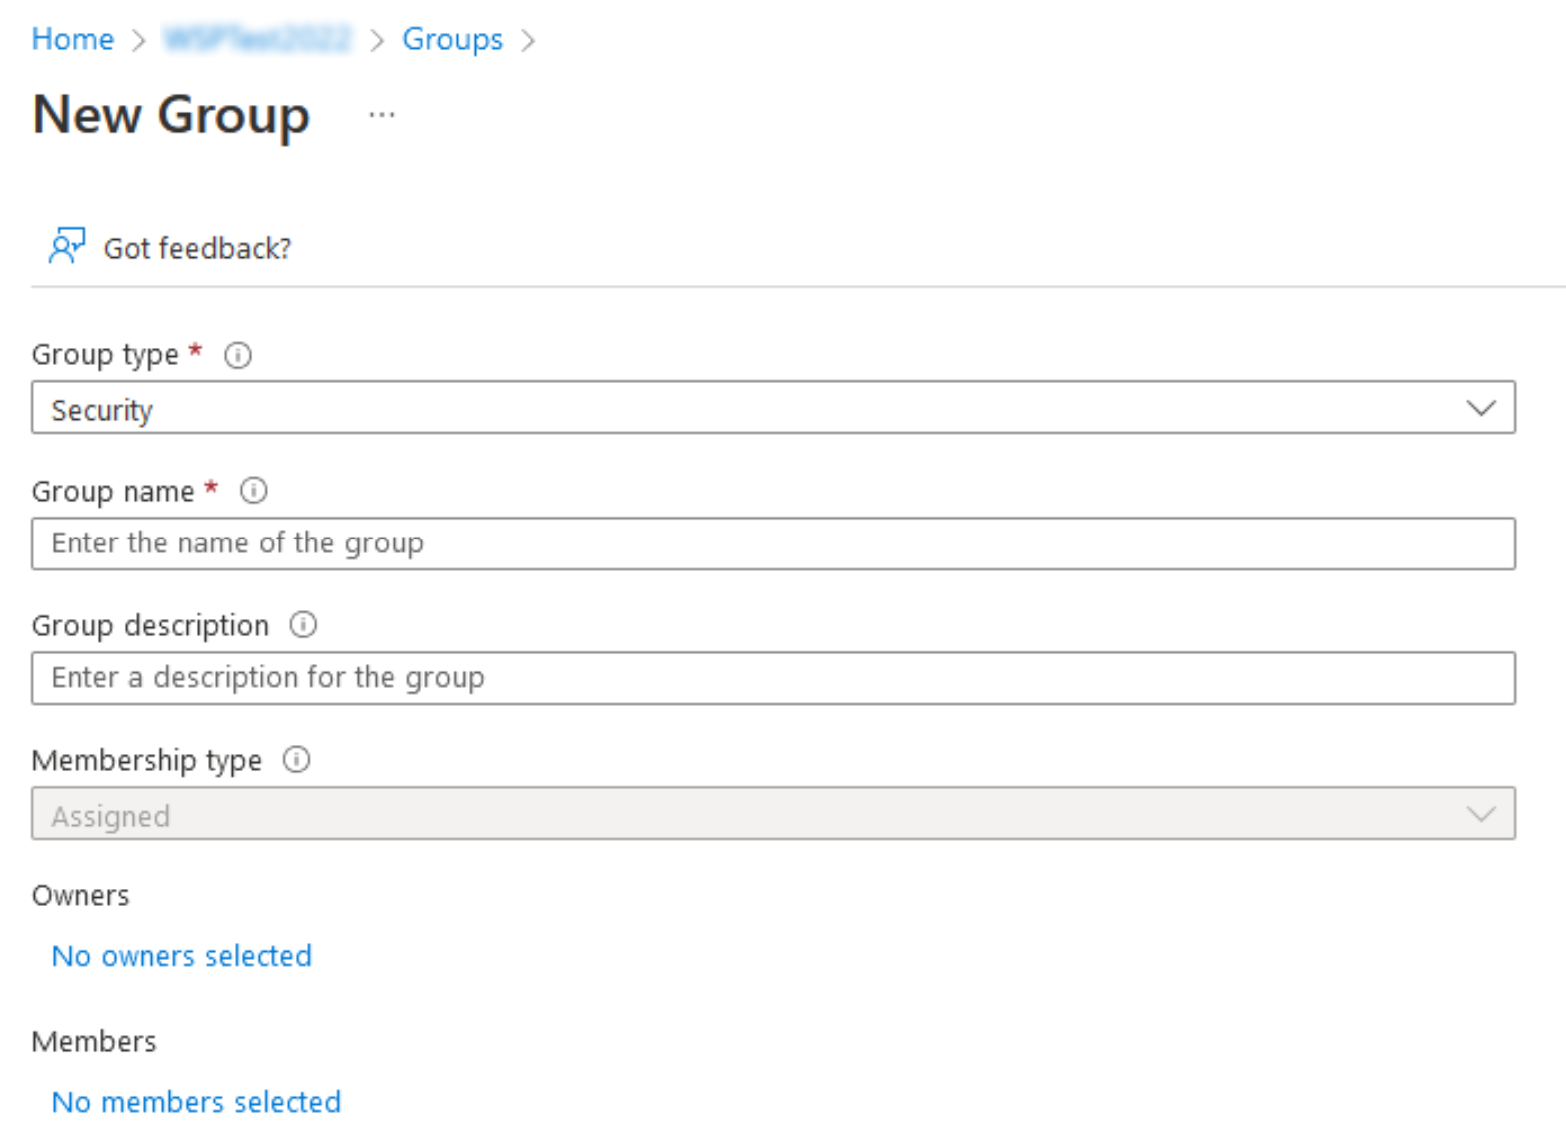
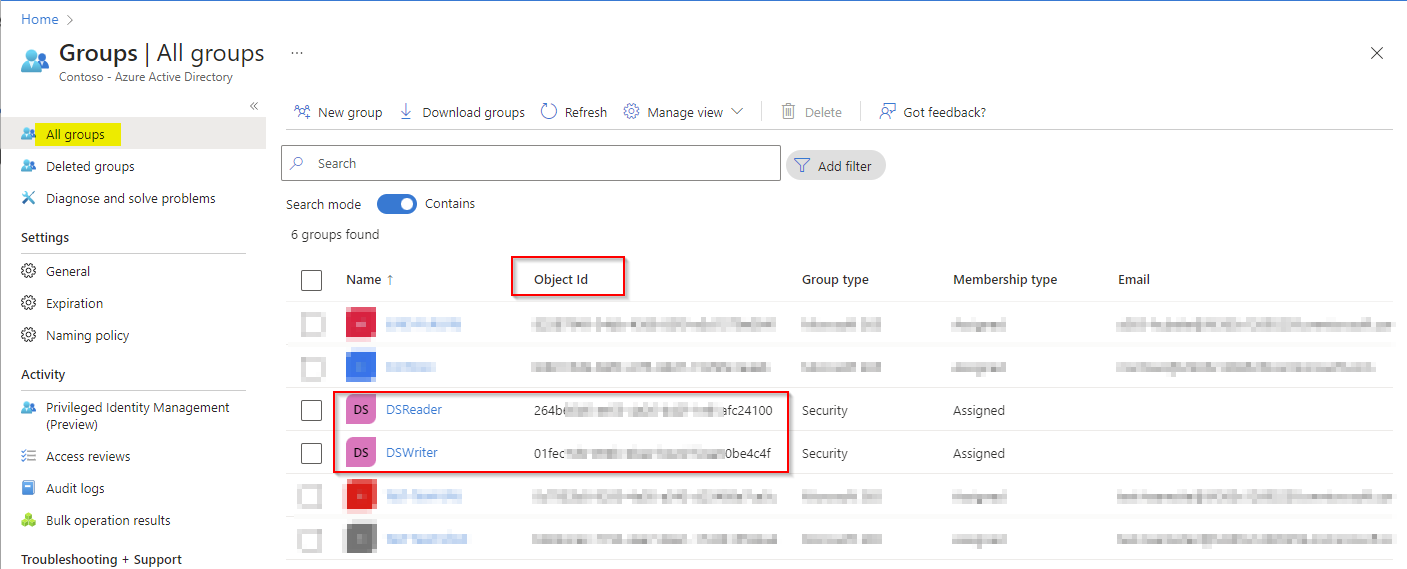
Select group type ‘security’. Fill in a suitable name for the group, such as "DialogueStudioWriter" and "DialogueStudioReader". Press on the Create button. The Created Group will also have an Object Id. This Object Id is needed later.
Note
For both the Reader group and Writer group, use the group Object Id. Do not use the group display name.
-
Add users to the appropriate groups.
Note
Users with intended write access need to be member of both the Writers and Readers groups, users with only read access need membership of the Readers group only.
Mapping Azure Groups
- Go to Home -> Microsoft Entra ID -> Enterprise applications and select the Enterprise application that corresponds to the app registration created for AnywhereNow Authentication. For the app registration procedure, see Create new Azure App Registration for AnywhereNow Authentication. Then select Assign Users and Groups.
- Select Add User/Group, and then select the Users and Groups tile. Add the created groups for Dialogue Studio to the application.
- Go to Home -> Microsoft Entra ID -> App registrations and select the same app registration for AnywhereNow Authentication.
- Go to the Token configuration tab. Select Add Groups claim, add Groups Assigned to the application..., and then select Save. This ensures that groups are added as a claim to the Azure token.
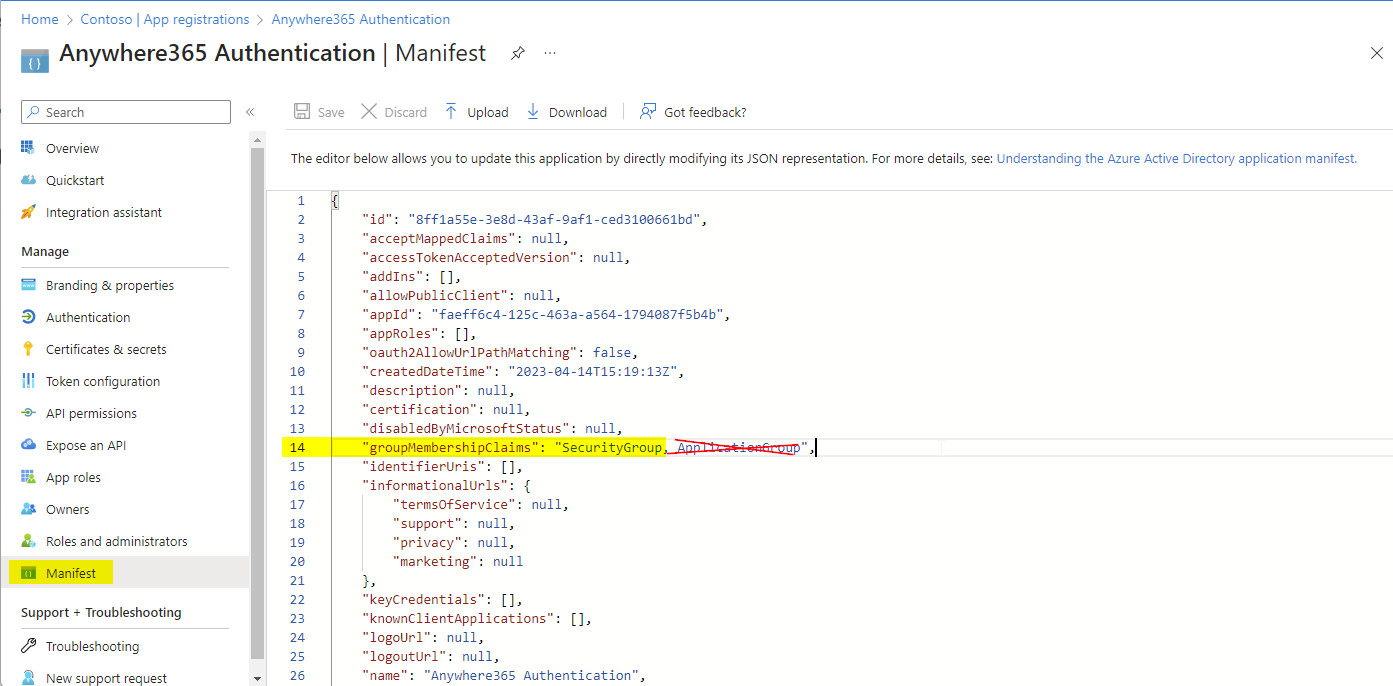
- Go to tab Manifest, and remove the ', ApplicationGroup' name from the "groupMembershipsClaims": so only "SecurityGroup" remains.
You now have everything prepared to enable AnywhereNow Authentication for Dialogue Studio.
Enabling AnywhereNow Authentication
Contact your installation partner to have the above details added to the OnePortal Formerly known as Partner Portal. A redesigned web portal for managing Dialogue Cloud deployments.:
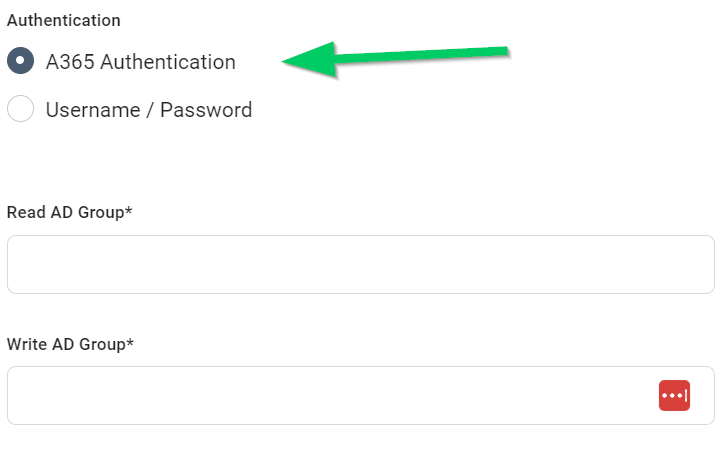
Go to the Dialogue Studio menu and change Authentication from username/password to a365 auth: