Configure WebAgent with Dynamics 365 Channel Integration Framework (CIF 2.0)
Introduced in DC2023.04.
Prerequisites
-
Before continuing make sure the sign in is configured, Learn More
-
Channel Integration Framework version 2.0 (CIF2) should be installed on your Dynamics 365 environment
-
Confirm the customer is licensed for Dynamics 365 Customer Service Enterprise. CIF 2.0 depends on the multi-session capability, which is not available with Dynamics 365 Customer Service Professional. For details, see System requirements for Dynamics 365 Channel Integration Framework 2.0 and Customer Service Pricing.
-
(Optional) To connect your Dialogue Cloud UCC A Unified Contact Center, or UCC, is a queue of interactions (voice, email, IM, etc.) that are handled by Agents. Each UCC has its own settings, IVR menus and Agents. Agents can belong to one or several UCCs and can have multiple skills (competencies). A UCC can be visualized as a contact center “micro service”. Customers can utilize one UCC (e.g. a global helpdesk), a few UCC’s (e.g. for each department or regional office) or hundreds of UCC’s (e.g. for each bed at a hospital). They are interconnected and can all be managed from one central location. to the WebAgent you also need the WebAgent Service, Learn More
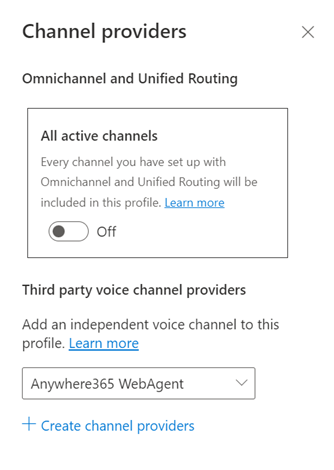
Add an Active Channel Provider for CIF2
-
Navigate and login on Dynamics 365
-
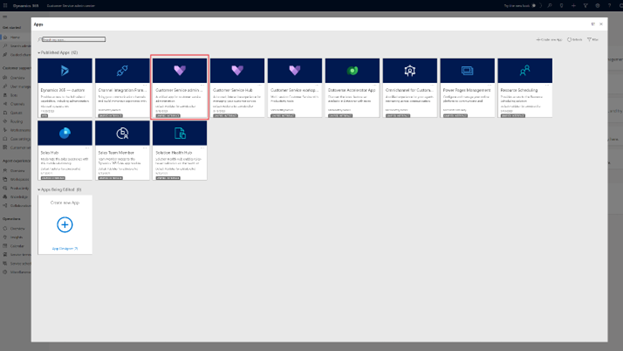
Open the My Apps list.
Select the Copilot Service Admin Center
-
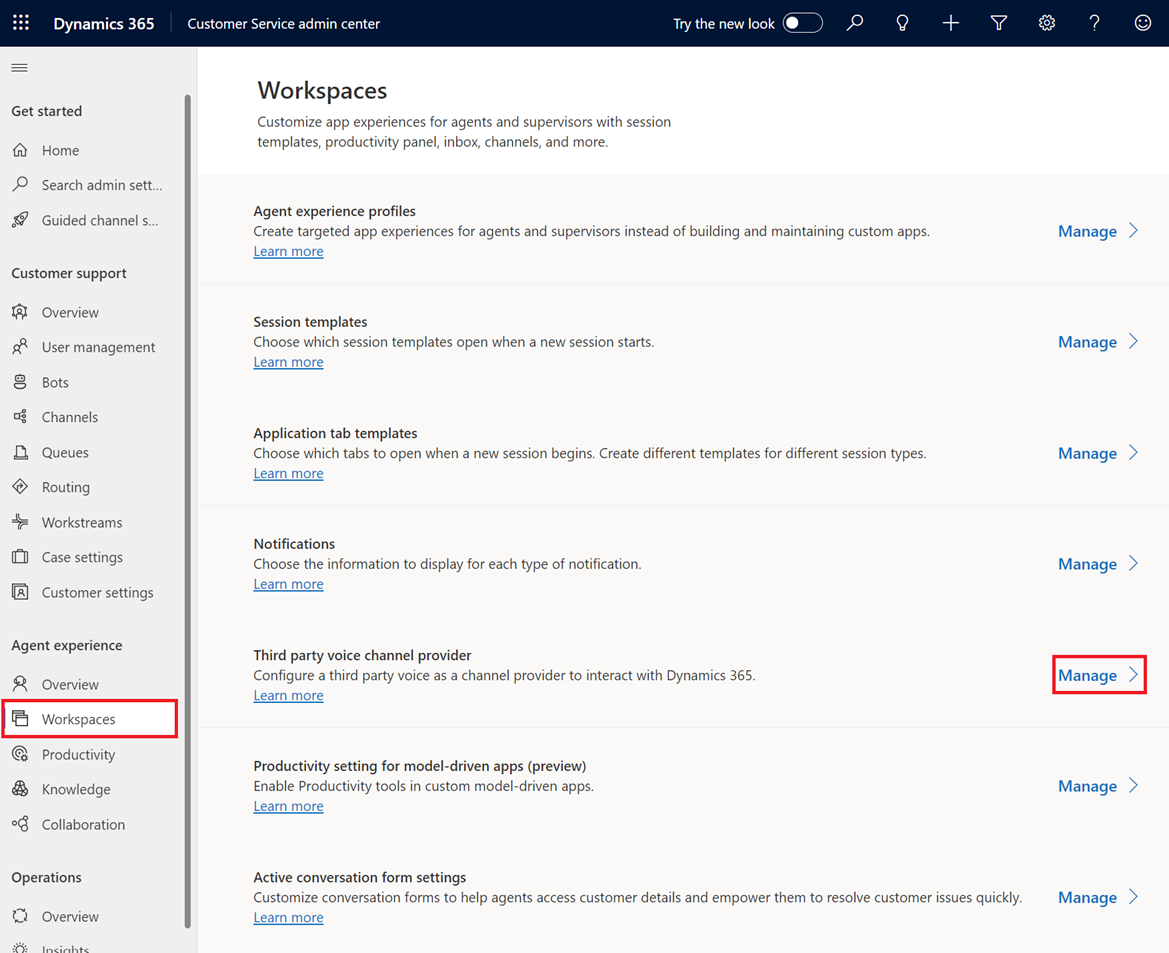
Under Support experience click Workspaces. Then under ‘Third party voice channel provider’ click Manage.
-
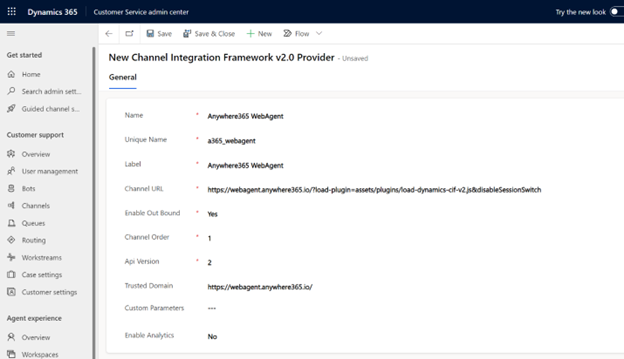
Click on +NEW and fill in the properties as per below.
-
Name: Dialogue Cloud WebAgent
-
Unique Name: a365_webagent
-
Label: Dialogue Cloud WebAgent
-
Channel URL * / **:
https://webagent.anywhere365.io/?load-plugin=assets/plugins/load-dynamics-cif-v2.js&disableSessionSwitch * Use the WebAgent URL for your connect model.
Dialogue Cloud Neo (Connect)
Global:
https://webagent.anywhere365.io?load-plugin=assets/plugins/load-dynamics-cif-v2.js&disableSessionSwitchNORA
https://nora-cus-webagent.anywhere365.io?load-plugin=assets/plugins/load-dynamics-cif-v2.js&disableSessionSwitchhttps://nora-cus-2-webagent.anywhere365.io?load-plugin=assets/plugins/load-dynamics-cif-v2.js&disableSessionSwitchhttps://nora-cus-3-webagent.anywhere365.io?load-plugin=assets/plugins/load-dynamics-cif-v2.js&disableSessionSwitchEMEA
https://emea-weu-webagent.anywhere365.io?load-plugin=assets/plugins/load-dynamics-cif-v2.js&disableSessionSwitchhttps://emea-weu-2-webagent.anywhere365.io?load-plugin=assets/plugins/load-dynamics-cif-v2.js&disableSessionSwitchhttps://emea-weu-3-webagent.anywhere365.io?load-plugin=assets/plugins/load-dynamics-cif-v2.js&disableSessionSwitchAPAC
https://apac-eas-webagent.anywhere365.io?load-plugin=assets/plugins/load-dynamics-cif-v2.js&disableSessionSwitchhttps://apac-eas-2-webagent.anywhere365.io?load-plugin=assets/plugins/load-dynamics-cif-v2.js&disableSessionSwitchhttps://apac-eas-3-webagent.anywhere365.io?load-plugin=assets/plugins/load-dynamics-cif-v2.js&disableSessionSwitchDialogue Cloud Neo (Unify)
EMEA
https://app.emea.anywhere.now/login?load-plugin=assets/plugins/load-dynamics-cif-v2.js&disableSessionSwitchAPAC
https://app.apac.anywhere.now/login?load-plugin=assets/plugins/load-dynamics-cif-v2.js&disableSessionSwitchNORA
https://app.nora.anywhere.now/login?load-plugin=assets/plugins/load-dynamics-cif-v2.js&disableSessionSwitch
** When CIF 1.0 and CIF 2.0 are used side-by-side, you must specify which CTI plugin to load.
Introduced in DC2025.01
Add the query-string parameter
?target-cti-plugin=DynamicsV2CTI(or prepend it with&if the URL already contains other parameters).Example:
https://webagent.anywhere365.io/?load-plugin=assets/plugins/load-dynamics-cif-v2.js&disableSessionSwitch&target-cti-plugin=DynamicsV2CTI -
Enable Out Bound: Yes
-
Channel Order: 1
-
API Version: 2.0
-
Trusted Domain *:
https://webagent.anywhere365.io/ -
* Use the WebAgent URL for your connect model.
Dialogue Cloud Neo (Connect)
Global:
https://webagent.anywhere365.ioNORA
https://nora-cus-webagent.anywhere365.iohttps://nora-cus-2-webagent.anywhere365.iohttps://nora-cus-3-webagent.anywhere365.ioEMEA
https://emea-weu-webagent.anywhere365.iohttps://emea-weu-2-webagent.anywhere365.iohttps://emea-weu-3-webagent.anywhere365.ioAPAC
https://apac-eas-webagent.anywhere365.iohttps://apac-eas-2-webagent.anywhere365.iohttps://apac-eas-3-webagent.anywhere365.ioDialogue Cloud Neo (Unify)
EMEA
https://app.emea.anywhere.now/loginAPAC
https://app.apac.anywhere.now/loginNORA
https://app.nora.anywhere.now/login
-
-
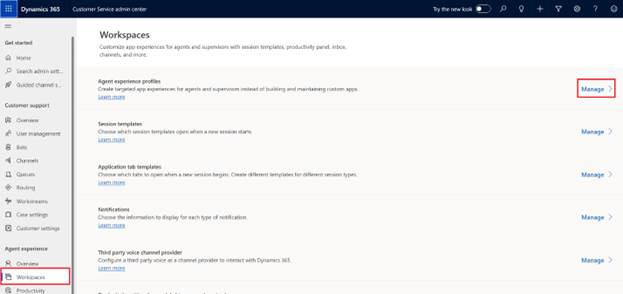
Go back to Workspaces and select Manage under Experience profiles
-
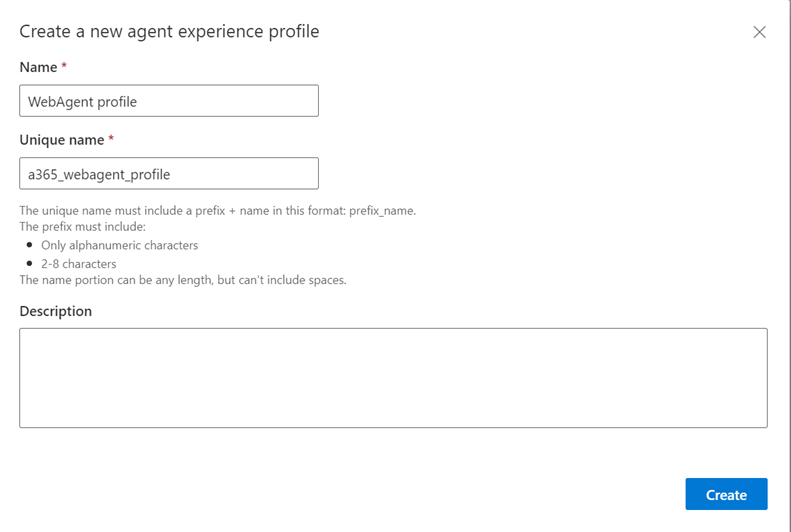
Click on + NEW and fill in the properties as per below.
-
Name: WebAgent profile
-
Unique name: a365_webagent_profile
After creation, the profile will be opened automatically
-
-
Under Users, assign agents that will be using the WebAgent
-
Click Edit under Channel providers and select Dialogue Cloud WebAgent as the Third party voice channel provider.
Save the configuration.
Add WebAgent Application Tabs Templates
-
Navigate to Support experience > Workspaces > Application tab templates > Manage
-
Click on + NEW
-
Add WebAgentEntityRecord
Name: WebAgentEntityRecord
Unique Name: a365_webagententityrecord
Title: {placeholder}
Page Type: Entity Record
Can close: Yes
-
Add WebAgentSearch
Name: WebAgentSearch
Unique Name: a365_webagentsearch
Title: {customerName}
Page Type: Search
Can close: Yes
-
Add WebAgent Session Templates
-
Navigate to Support experience > Workspaces > Session templates > Manage
-
Click on +NEW
-
Add WebAgentSession
Name: WebAgentSession
Unique Name: a365_webagentsession
Type: Generic
Title: {customerName}
Communication panel mode: Docked
Anchor Tab: WebAgentSearch
-