Create - Service
Announcement
Anywhere365 Partner Portal has been rebranded and rebuilt as AnywhereNow Formerly known as Partner Portal. A redesigned web portal for managing Dialogue Cloud deployments.
Read more
OnePortal and has gone live on 17-04-2025. Updated documentation and screenshots will be added over the coming weeks. All menu's and options of Partner Portal can still be found in OnePortal albeit in a slightly different place or look and feel.
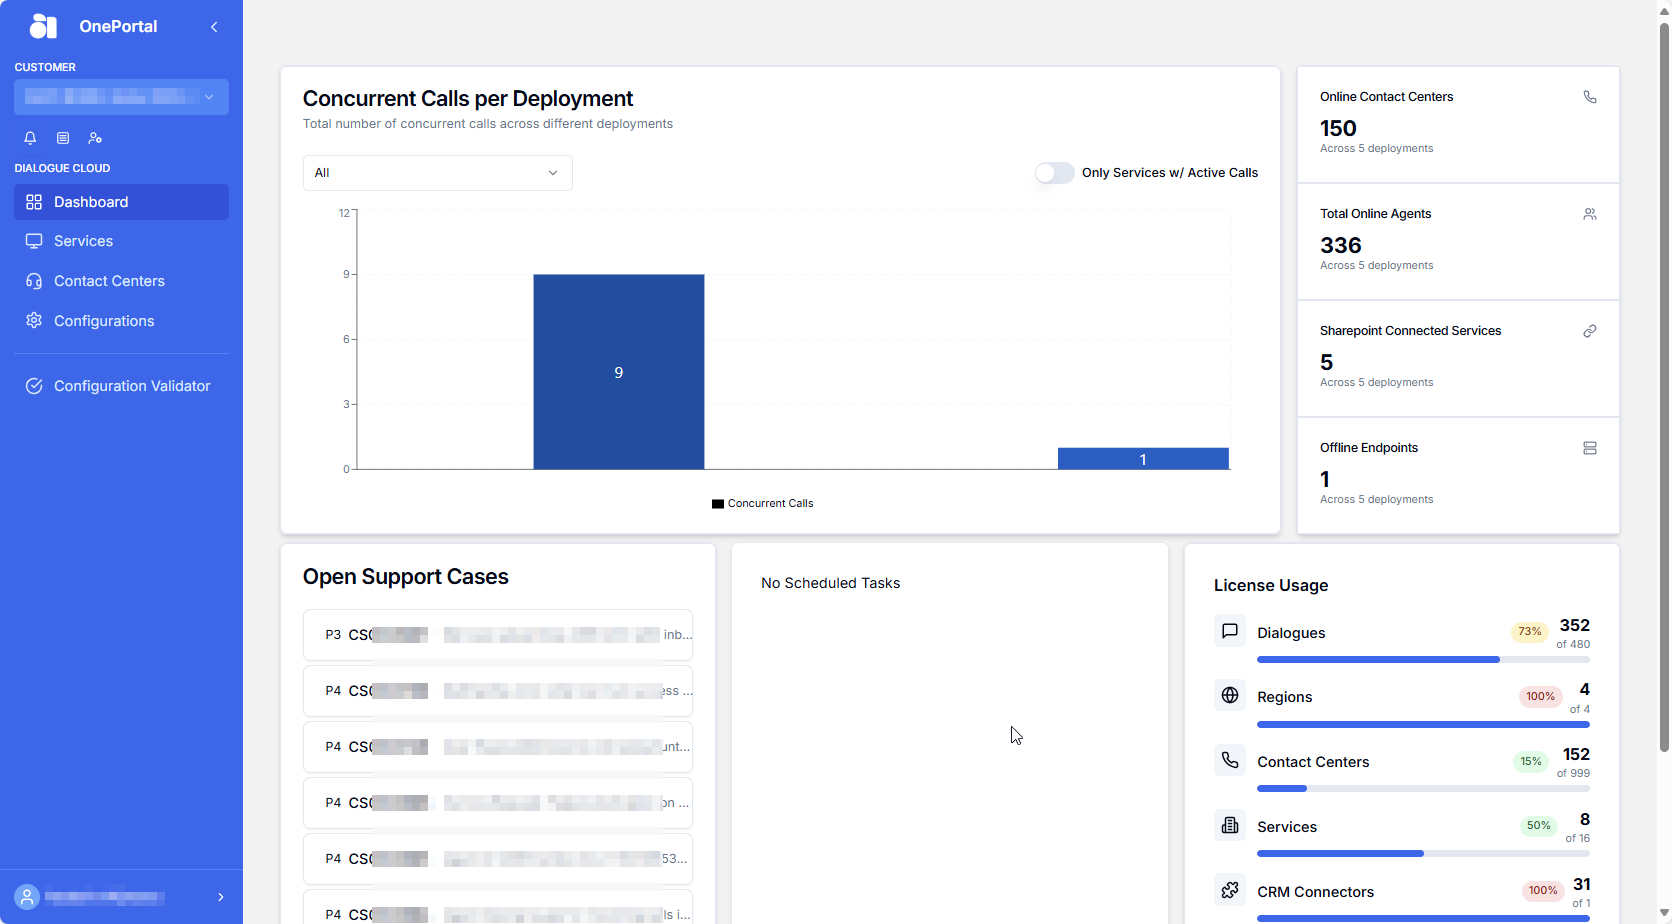
*New* For a listed overview of Video Tutorials on various actions available in OnePortal, see: Overview OnePortal Video Tutorials
Request New Service
To request a A Unified Contact Center, or UCC, is a queue of interactions (voice, email, IM, etc.) that are handled by Agents. Each UCC has its own settings, IVR menus and Agents. Agents can belong to one or several UCCs and can have multiple skills (competencies). A UCC can be visualized as a contact center “micro service”. Customers can utilize one UCC (e.g. a global helpdesk), a few UCC’s (e.g. for each department or regional office) or hundreds of UCC’s (e.g. for each bed at a hospital). They are interconnected and can all be managed from one central location. Service, navigate to the Customer dropdown to search and select the customer name. Next select the Services menu item and click on the Create New button.
Note
In the Customer dropdown all customers linked to your partner organization will be shown. If the customer is not in the list, it could be that the purchase order has not yet been processed. Your Sales representative or the AnywhereNow Backoffice team will be happy to help you with this.

A New pane will be presented in which details need to be filled in about the Service you want to create.

Service Configuration
In the Service Configuration column the Cloud type, region, A bundle is a fixed combination of our software platform elements of very specific versions. These are designed and tested to optimally work together to assure their intended function and interoperability. version and Concurrent Dialogues must be defined.
Select Cloud
The Select Cloud dropdown expands to a dynamic menu with the following options:
-
Direct Routing
-
Select Region
-
West Europe
-
Germany West Central
-
Central US
-
Southeast Asia
-
Australia East
-

-
-
When using AnywhereNow in combination with Federation you can add agents working with a Skype for Business or Teams account to your UCC.
-
Select Region
-
North Europe
-
Eastern US 2
-

-
Select Bundle
The Select Bundle dropdown will show the three latest GA supported Bundles (N, N-1 and N-2) to select from.

Note
Customers with pre-existing Bundles deployed on existing services will be shown these versions as well.

Concurrent Dialogues
In the Concurrent Dialogues section, you can configure how many of the purchased Concurrent Dialogues you would like to distribute to this UCC Service:

Presence Configuration
The Presence Configuration section is for setting up the two separate Microsoft Graph presence actions we support (GET and SET) from our various plugins and services.
The upper part is a dynamically interactive menu which allows you to:

-
Enter a New Tenant Id to collect Graph Presence information from (This could be either a new customer or a separate Microsoft 365/Teamstenant for which an exsiting customer wants to

-
Select from pre-existing tenant defined in an earlier stage for an existing UCC Service.

-
Enter the Client Id of the Microsoft Graph Presence Source (GET) App set up for AnywhereNow, see: Microsoft Entra Id App Registration setup

-
Enter the Graph User Credentials (Username and Password) of the useraccount set up for Graph Presence GET, see: User Account

The bottom section (Below the Use Graph Presence Publisher toggle) allows you to:

-
Enable the Presence Publisher

-
Enter the Microsoft Formerly known as Azure Active Directory (or Azure AD, or AAD) Application Credentials (TenantId,
ClientIdandClientSecret) to allow Application access to SET Presence, see: 1. Microsoft Entra Id App Registration Steps
Routing Configuration
The Routing Configuration section allows to setup the SBC required to connect, and add optional administrative/The Session Initiation Protocol, or SIP, is a protocol for multimedia communication (audio, video and data communication). SIP is also used for Voice over IP (VoIP). SIP has interactions with other Internet protocols such as HTTP and SMTP. header tags, required to a customers Direct Routing Microsoft Phone system to AnywhereNow Dialogue Cloud.

SBC Configuration Details
New Dialogue Cloud Neo (Connect) deployments
- Create and save the Create new SBC Configuration. You can select Enhanced Direct Routing (Enhanced Direct Routing (EDR) is the AnywhereNow name of the Microsoft Direct Routing configuration option of REFER support of SIP headers (Option 2) to allow richer transferheaders in SIP messages, allowing for more information to be passed on in transfer related and forward scenarios. Refer support was a later addition to Microsoft's Direct Routing stack (hence option 2), AnywhereNow followed suit by developing both implementations, first option 1 and later option 2.) during creation.
- Select the saved SBC configuration when Create - Service.
- Before call testing, complete and verify all three matching settings: customer SBC REFER support, Service EDR, and SBC Configuration EDR. See Steps to enable EDR.
Selecting EDR or saving a configuration does not make the complete call path ready for use.
If you already have an existing SBC configuration (super trunk etc.) please select it from the list:

If your SBC configuration is not in the list a new one can be configured in the OnePortal Configurations menu. See: Create new SBC Configuration
Once all fields are selected and the SBC configuration is selected then click the “Save” button:
